Ventilated Facade Installation Technology: A Detailed Step-by-Step Guide with Practical Tips
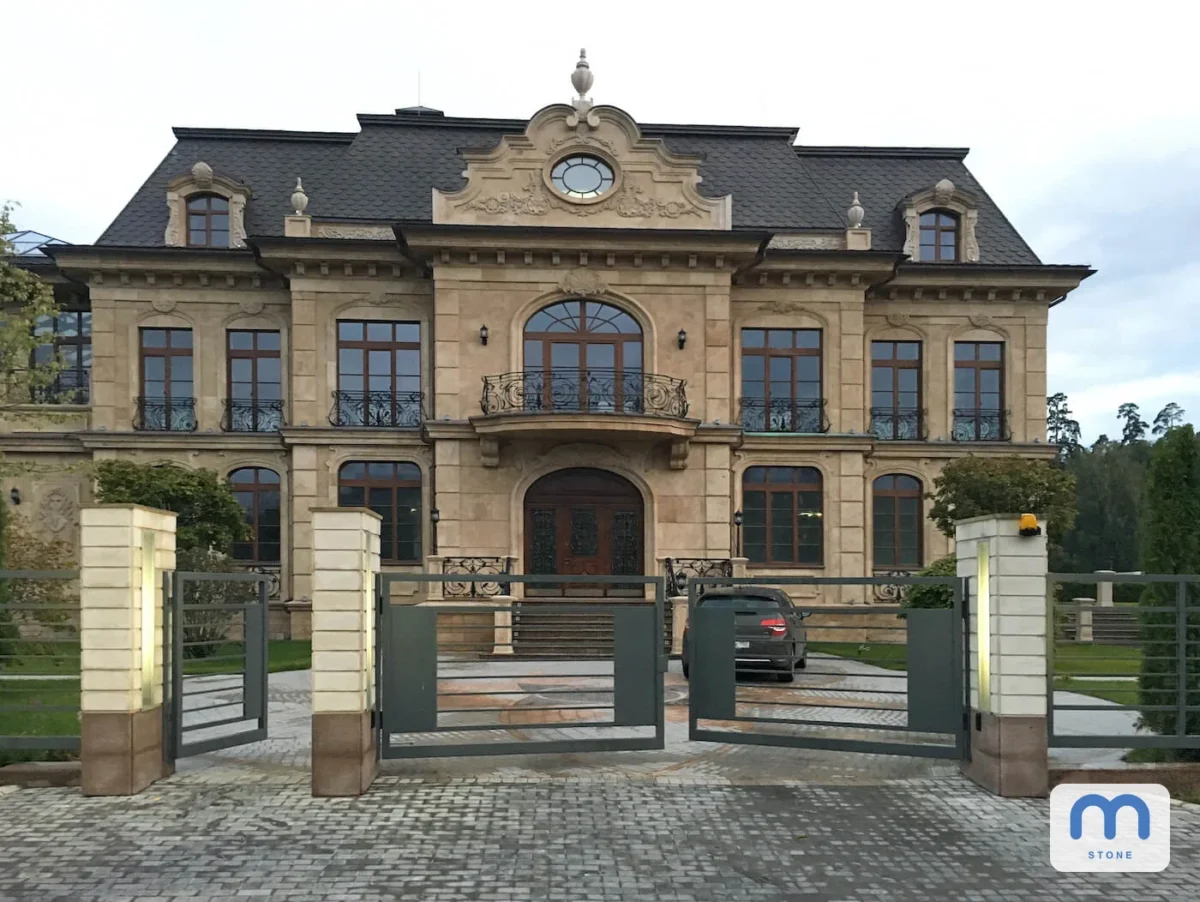
Ventilated facades are one of the most widespread and effective options for cladding buildings.
They consist of several layers, including an insulating material and a cladding that protects the wall from external influences and provides effective insulation.
The main components of a ventilated facade are insulation, cladding panels, dowels and mounting elements. Installing such facades requires strict quality control of the work and the use of the best materials, such as porcelain stoneware, fibre-cement or composite panels.
The ventilated facade installation technology includes several stages, from preparing the wall to installing the cladding panels. Each step has its own specifics and requires certain skills and knowledge. In this article we look at a step-by-step guide to installing a ventilated facade and also give useful tips on choosing materials and carrying out the work.
It is important to remember that a correctly installed ventilated facade not only improves the appearance of a building but also increases its energy efficiency, protects it from damage and ensures the durability of the structure. However, like any construction process, installing a ventilated facade has its drawbacks and specifics that must be taken into account when planning the work.
Preparing to install a ventilated facade: choosing materials and tools
Choosing materials for a ventilated facade:
Panels: porcelain stoneware, natural stone or fibre-cement slabs are often used as the cladding material. Each of these materials has its pros and cons, and the choice depends on the requirements for appearance, durability and cost.
Insulation: dense-type insulation, such as mineral wool or expanded polystyrene, is usually used for ventilated facades.
Structural elements: these include dowels for fixing the insulation to the wall, and brackets and clamps for installing the panels.
Preparing tools:
An electric drill: needed for drilling holes in the wall for dowels.
A level and a plumb line: for controlling the verticality and horizontality of the installation of the facade elements.
Metal shears or special knives for cutting panels.
A screwdriver: for driving self-tapping screws and fixing brackets.
Marking out the wall:
The wall is marked out, determining the places for installing the brackets and insulation. This is an important stage, because the evenness and strength of the whole structure depend on the correctness of the marking.
The marking is checked with a level and a plumb line to ensure straight lines and the correct position of all elements.
Correct preparation for installing a ventilated facade includes not only choosing suitable materials and tools but also careful planning of all stages of the work. This makes it possible to avoid mistakes and damage that can occur during installation and to ensure the durability and attractive appearance of the facade after installation is complete.
A step-by-step guide to installing the main elements of a ventilated facade
- Preparing the wall and marking out
Before starting work you need to prepare the wall by cleaning it of old cladding and other layers. After cleaning, the points for installing the brackets that will hold the structure of the ventilated facade are marked. It is important to keep the spacing and the correct position of the points to ensure the reliability of the whole system.
- Installing the brackets and the thermal insulation layer
The brackets are installed at the marked points using mixes and fasteners. Special attention is paid to the horizontality and verticality of the brackets. After the brackets are installed on the wall, the thermal insulation layer is mounted, which gives the building additional heat-saving properties. This layer also serves as the base for fibre-cement or cassette claddings.
Stage Description
Installing the brackets: fixing the brackets at the marked points in accordance with the standards.
Installing the thermal insulation layer: installing thermal insulation boards on the brackets using special dowels.
Creating the ventilation gap: installing a membrane to create a ventilation gap between the insulation and the cladding.
After the thermal insulation layer is installed and the ventilation gap is created (using a membrane), installation of the cladding elements begins. This can be natural stone, fibre-cement slabs or other materials suitable for ventilated facades. It is important to make sure that all elements are installed level and without skewing, which will ensure the durability and attractive appearance of the facade.
Ventilated facade installation technology: a step-by-step guide and tips
Before starting installation it is necessary to carry out preparatory measures, including marking out the wall and choosing the right type of brackets. The brackets are structural elements of the system that ensure the correct position of the porcelain stoneware panels and the insulation. An electric drill is used for the marking to outline the points for fixing the brackets on the wall.
After the brackets are installed, installation of the insulating material begins. It must fit tightly against the wall to ensure effective thermal insulation. Then a vapour barrier film is applied to the insulation, which prevents moisture from condensing inside the ventilated facade.
The next step is installing the sub-frame, which serves as the base for fixing the porcelain stoneware panels. The sub-frame is made from metal cassettes fixed to the brackets. It is important to ensure that through ventilation channels exist between the battens and the insulation, which is a feature of ventilated facades.
After the sub-frame is complete, installation of the porcelain stoneware panels begins. The panels must be fitted correctly to one another so that the facade looks monolithic and aesthetic. The panels are fixed with special clamps or clips that ensure a reliable and durable connection.
- Tips for caring for the facade and preserving its appearance
For a ventilated facade to last a long time and keep its original look it must be cared for regularly. This includes cleaning off dust and dirt and periodically checking the fixings and the condition of the insulation. Using special care products can significantly extend the service life of the facade.
Questions and answers:
What are the main stages of installing a porcelain stoneware ventilated facade?
The main stages of installing a porcelain stoneware ventilated facade include substrate preparation, installing the fasteners, installing the sub-frame, laying the insulation, installing a wind- and moisture-protection film, installing the porcelain stoneware slabs and the final sealing and decorative work. Each stage requires careful execution to ensure the reliability and durability of the facade.
Why is it important to use a porcelain stoneware ventilated facade?
Using a porcelain stoneware ventilated facade is important because this material has high strength, resistance to atmospheric influences and wear resistance. The ventilated layer ensures effective removal of moisture, which prevents condensation and preserves the thermal insulation properties of the insulation. Thus such a facade provides not only an attractive appearance of the building but also its energy efficiency.
How do you choose the right fasteners for installing porcelain stoneware on a ventilated facade?
The right choice of fasteners for installing porcelain stoneware on a ventilated facade depends on the wall material and the weight of the porcelain slabs. Usually special brackets are used that are fixed to the wall with dowels. It is important to take into account the climatic conditions and the type of insulation to ensure reliable fixing and the compatibility of all the elements of the ventilated facade system.
Can a porcelain stoneware ventilated facade be installed yourself, or are specialists needed?
Installing a porcelain stoneware ventilated facade is a technically complex process requiring certain skills and knowledge. Although in theory it is possible to do it yourself, it is recommended to involve professional installers, especially if the building has a complex shape or a large area. Specialists will ensure quality work, which will affect the durability and efficiency of the ventilated facade.

About M-STONE
This material was prepared by the M-STONE team: 20 years of brand history, installation of large-format tile and natural stone in Kyiv and across Ukraine. The company is led by Oleg Dolynskyi. The recommendations describe the typical order of work; a specialist refines the solution for your project after a consultation.
Contact us
We will price your project
Send the dimensions and slab format: we will calculate the material and installation and suggest the timing.