Installing a Ventilated Facade: A Detailed Guide to the Sequence of Work
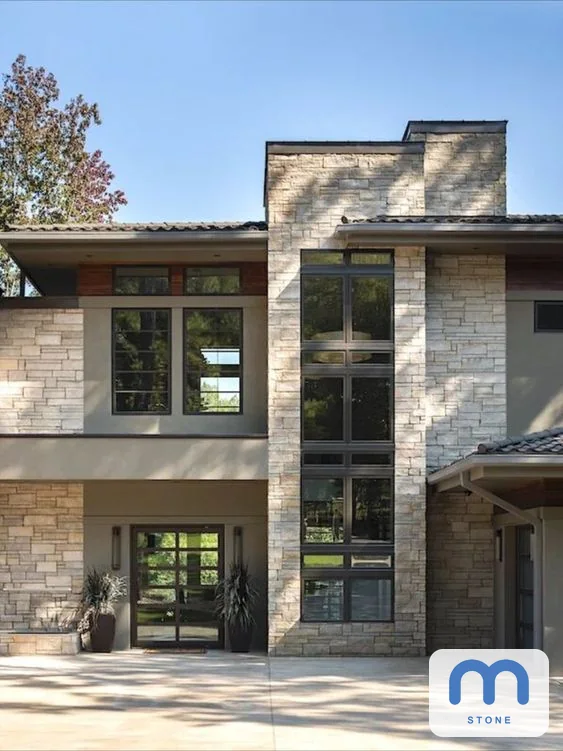
Ventilated facades are a modern cladding technology that provides not only an aesthetic look but also the effective functioning of the ventilation system. Installing a ventilated facade requires strict adherence to the sequence of stages, from design to fixing the cladding materials.
The first stage in installing a ventilated facade is developing the project documentation. The project includes all the necessary elements, such as brackets, frame, substructure and cladding slabs. In addition, the documentation must clearly state the requirements for materials and equipment, as well as installation options that comply with the relevant standards.
The next important stage is the preparation and execution of the system installation work. Misunderstanding the specifics of installation can lead to incorrect installation and, as a result, to unreliable operation of the ventilated facade. That is why special attention is paid to following the installation sequence, from installing the frame to fixing the cladding materials on the facade part of the walls.
Choosing materials and calculating the quantity needed to install a ventilated facade
Selecting materials according to the project:
Facade slabs: you need to choose a material suitable in its characteristics and appearance for the particular house.
Insulation: chosen taking into account climatic conditions and thermal insulation requirements.
Frame and fasteners: it is important to choose strong and reliable brackets and profiles that will hold the whole structure.
Calculating the quantity of materials:
Facade area: measured and calculated to determine the total number of slabs and the amount of insulation.
Amount of frame: calculated from the dimensions of the building and the pitch of the profiles.
Fasteners: calculated taking into account all loads and the manufacturer’s recommendations.
Checking conformity and documentation:
Checking the drawings and the project notes: you need to make sure that all structural elements are specified and calculated correctly.
Installation kits and documentation from the manufacturer: studying the instructions and recommendations for installation and use.
A correctly completed stage of choosing materials and calculating quantities guarantees successful installation work and the durability of the ventilated facade. It is necessary to study all the documents thoroughly to avoid misunderstandings and mistakes during installation.
Preparing the substrate and installing the fasteners
Substrate preparation
Substrate preparation is the initial stage of installing a ventilated facade. The substrate must be prepared according to the technology requirements and the design and estimate documentation. Among other work it is important to:
Clean the wall of old cladding and other layers.
Check and prepare the wall surface to ensure it is flat and strong.
Install additional fasteners if the project provides for them.
Installing the fasteners
Installing the fasteners is a key stage that affects the reliability of fixing the whole ventilated facade. This stage needs:
Fasteners suitable for the type and material of the wall.
Accurate drawings and notes that make it possible to place the fasteners correctly according to the project.
A special tool for installing the fasteners.
The fasteners must be installed with high accuracy to ensure the correct position of the frame and insulation in the next stages of installing the ventilated facade.
Installing the substructure of ventilated facades
Before moving on to installing the frame and insulation, you need to deal with installing the substructure of the ventilated facade. This is an important stage that ensures the correct placement of all elements and guarantees the durability and efficiency of the ventilated facade. In this part of the article we look at the sequence of work and the materials used at this stage.
Preparation and choice of materials
When installing the substructure of ventilated facades, various elements are used, including brackets, fixings and special systems. It is important to choose correctly and calculate the quantity of each of these elements to ensure the reliability and strength of the whole structure. In addition, the features of the building and its walls must be taken into account in order to choose the most suitable substructure option.
Step-by-step installation of the substructure
Installing the substructure of ventilated facades includes several main stages:
Stage Description
1. Installing the brackets: the brackets are laid on the prepared substrate according to the project. It is important to keep the spacing and installation angles to ensure an even load.
2. Installing fixings on the brackets: special fixings are installed that will hold the frame and insulation. This stage requires attention and precision to avoid skewing and incorrect fixing.
3. Preparing for installing the cladding panels: after installing the main elements of the substructure, preparation for installing the cladding panels is carried out. This includes checking the horizontality and verticality of the elements and adjusting their position if necessary.
Correct installation of the substructure of ventilated facades is the key to successful installation of the whole facade. It ensures reliable fixing of all the following elements and makes it possible to avoid misunderstandings and mistakes in later work.
Installing the frame and insulation of a ventilated facade
Stage Description of work
Preparation: before starting to install the frame you need to make sure that the substrate is ready and that the fasteners are installed correctly. It is important to check that all previous stages have been carried out according to the project and the documentation requirements.
Installing the frame: the frame is laid on the brackets installed on the wall. Special attention is paid to the correct sequence and fixing of the frame elements to ensure an even distribution of the load and conformity with the project.
Laying the insulation: after installing the frame, laying the insulating materials begins. Depending on the type of ventilated facade and the climatic conditions, a suitable material is chosen that will insulate the walls and provide the necessary microclimate in the room.
Quality check: after laying the insulation, a quality check of the work is carried out. This includes checking that the insulation fits tightly against the frame and that there are no voids, which is important for the efficiency of the whole ventilated facade system.
Correct installation of the frame and insulation makes it possible to create a reliable and efficient ventilated facade system that will serve for many years, ensuring comfort and energy efficiency of the building.
Installing a ventilated facade: the step-by-step order of work
Preparing for installation is the first step, which includes studying the documentation and drawings for the suspended ventilated facade. Special attention should be paid to the documentation here, in order to understand all the nuances of installation and the requirements for materials.
The second stage is choosing materials and calculating the necessary quantity. This includes choosing profiles, insulation, cladding panels and other elements that will be used during installation. The calculation of the quantity of materials must be accurate to avoid overuse or shortage of materials.
Preparing the substrate and installing the fasteners is the next important step. The substrate must be prepared according to the requirements for installing the fasteners that will hold the whole frame and insulation.
Installing the substructure of ventilated facades includes installing the frame, which is the basis of the whole ventilated facade. The frame must be installed strictly according to the drawings to ensure the correct position of all following elements.
Installing the frame and insulation is the stage at which the insulation is placed directly into the frame. The insulation must fit tightly against the frame and provide effective insulation of the walls.
The last stage is installing the cladding panels and the finishing work. The cladding panels are mounted on the frame, after which all additional work is carried out, such as sealing joints, installing trim elements and so on.
In general, installing a ventilated facade requires careful preparation and adherence to all stages in a strict sequence. This makes it possible to create a reliable and aesthetic facade that will serve for many years.
Questions and answers:
What are the main stages of installing a ventilated facade?
Installing a ventilated facade includes several main stages: substrate preparation, installing the fasteners, installing the sub-frame, laying the insulation, creating the ventilation gap and the decorative layer. Each stage requires strict adherence to the technology and to the instructions of the material manufacturer.

About M-STONE
This material was prepared by the M-STONE team: 20 years of brand history, installation of large-format tile and natural stone in Kyiv and across Ukraine. The company is led by Oleg Dolynskyi. The recommendations describe the typical order of work; a specialist refines the solution for your project after a consultation.
Contact us
We will price your project
Send the dimensions and slab format: we will calculate the material and installation and suggest the timing.